In today’s post I am going to share a quick and easy way to help you figure out the amount of sales tax that you owe to each state that you pay. This is a topic that I frequently get asked about, so I wanted to cover it in today’s post. It’s not the most exciting topic, but it’s pretty essential that you handle this properly to avoid potential long term problems in your business. A little over a year ago I did a post covering the overall issue of sales tax for FBA sellers, and what the options are. I’d recommend giving it a read if you are looking for more information about sales tax.
This post won’t go into the details of whether you have to pay in one state or multiple states. That topic discussed in the previous article. This one will focus exclusively on how to determine the amount of sales tax owed for each state. Before we get into the method, I must first state that I am not a lawyer or CPA, so I am not providing professional legal or tax advice.
One other disclaimer, depending on the state you are paying in, the first method shared may not be advanced enough to get all of the info that you will need. The areas where it likely will not be enough is if the state requires you to break out the sales by county, or by many different areas within a state. If this is the case for a state that you are filing in, know that as you go through this you will likely need to use the 2nd method shared in this post and take additional actions to manipulate the data beyond what is shared here to get your sales tax returns filed completely accurately. Keep that in mind as you go through the post.
Method for Paying Amazon Sales Tax in One State:
If you only pay sales tax in a single state, here’s the process:
- Login to your Amazon Seller Account
- Hover over reports at the top of the screen
- Select payments
- Click date range reports
- Click Generate a report
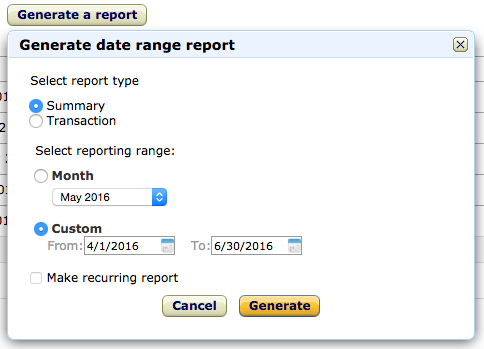
- Select the Summary radio button
- Select the custom radio button and input your desired date range. This is a screenshot of what this will look like:
- Download the report when it becomes available
- In the bottom right corner of the PDF there will be a section titled “sales tax”
The total number displayed here should be the amount you need to remit to the state that you file sales tax in. This of course assumes that you have been setting up your tax codes correctly on all of the items you have listed.
Method for Paying Amazon Sales Tax in Multiple States:
If you pay sales tax to multiple states, here is the process to go through to get the information that you need.
- Login to your Amazon Seller Account
- Hover over reports at the top of the screen
- Select payments
- Click date range reports
- Click Generate a report
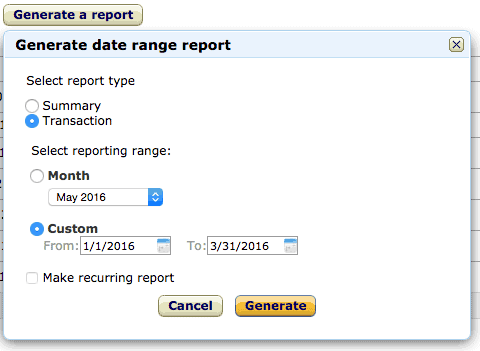
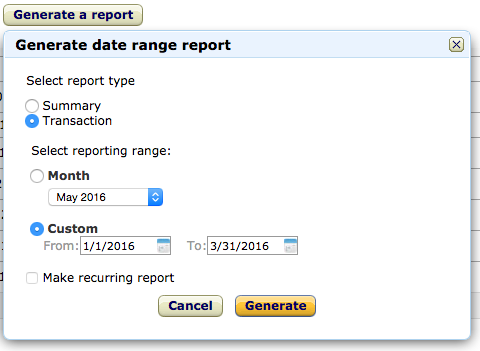
- Select the Transaction radio button
- Select the custom radio button and input your desired date range. This is a screenshot of what this will look like:
- Download the report when it becomes available
- Open the file with Excel or google sheets
- You don’t need every column in this report, here are the ones that I recommend keeping:
- Order City
- Order State
- Order Postal (zip code)
- Product Sales
- Sales Tax Collected
- Once you have a report limited to those columns there are 2 options to manipulate the data into the format you need. These instructions will be based on using Excel, but should be able to be used in google sheets as well.
Option #1
- Select the top row of the excel document by highlighting row 1.
- Select the data tab
- Select filter
Then filter by each state that you need the sales and sales tax amounts for. Then sum up the total of the columns.
Option #2
- Organize your excel file so that these 3 columns are in order: order state, product sales, and sales tax collected
- Highlight these 3 columns from step 1
- Click data
- Click insert pivot table
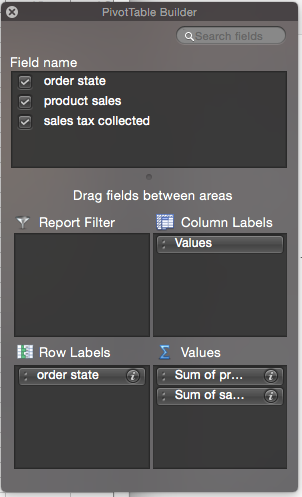
- When building the pivot table:
- Row labels: order state
- Values “Sum of product sales” & “Sum of sales tax collected”
- Here’s a screenshot of the pivot table setup:
- Here’s a screenshot of the pivot table setup:
Now you should have a list by state of the sales for each state, and how much sales tax you have collected for each state. One important thing to note is that some states will show up on multiple lines on this report depending on how buyers input the state name in their address. You will have to make sure that you combine these amounts so that each state is covered. Here’s an example for the state of Colorado:
Using this method you can also break the data out by zip code or city if that is what is required by your jurisdiction.
If all of this sounds too complicated for you, it might be worth seeing if your CPA can handle this process for you, or using a service to help automate the process like TaxJar.
Depending on your level of sales and the number of states you file sales tax in, it can definitely be worth going through this process on your own. Hopefully this post helps to make the process seem a little bit more manageable.
If you have any questions or comments please let me know in the comments section below.


If i may …. I would recommend tax jar.
Best $20 I spend each month and best $19 to file electronically each quarter. Saves me a LOT of time and brings me peace of mind to know exactly what is due in each state and that it’s pretty much automatically taken care of. I am not connected with Taxjar .. just a happy customer.
Thanks for sharing Joe.
Best Regards,
Ryan
At what point would you recommend tax jar? I would only need to file one state, CA, but I believe CA has different counties that I would need to file. Would this be difficult to manage on your own? I have roughly 800 sales a month (all states), and it looks like monthly fee’s with tax jar depend on transaction size.
Hi Jason,
I can’t comment on the specifics of any individual state, but if there are different taxing jurisdictions it gets harder to manage.
The way I look into any tool or outsourcing task is like this: if the investment in the tool saves you enough time that you are able to use that same time to do another task and make more money somewhere else, then it’s worth outsourcing or investing in the tool.
Hope that helps.
Best Regards,
Ryan